 |
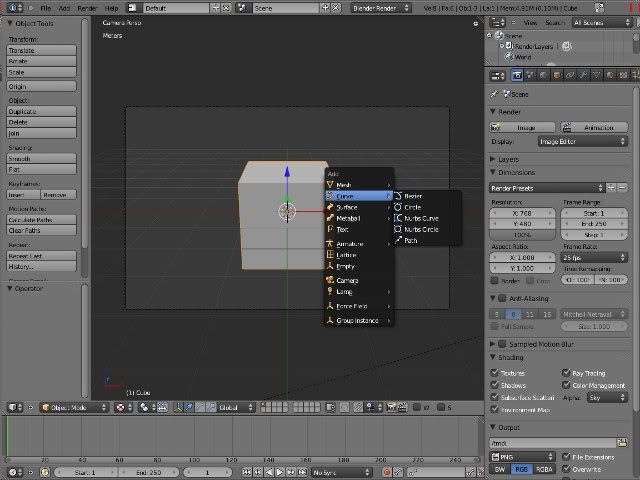
| Start Blender. Add new "Curve" by using "Shift" + "a" key |
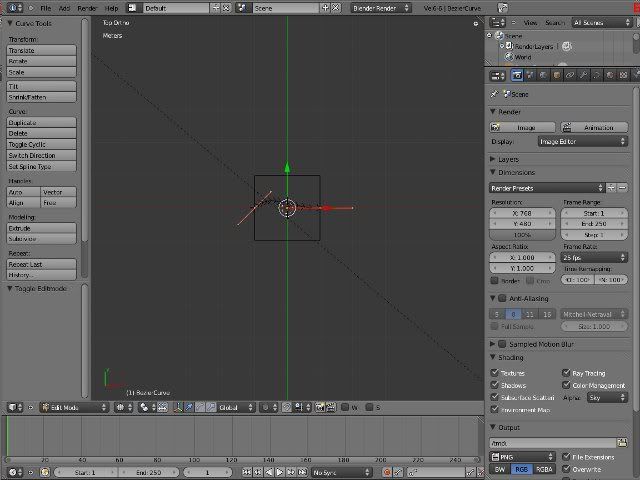 |
| Go to wire-frame view mode (So that you can see the added curve clearly. |
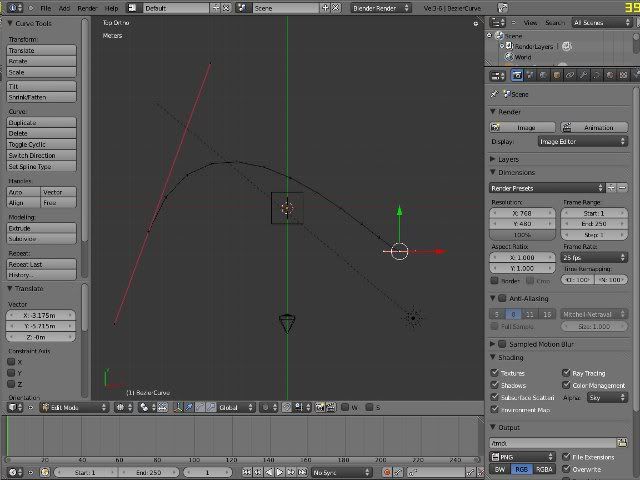 |
| Select the "Curve" by right clicking. Go to edit mode using "TAB" keu. Adjust the curve points & handles using right click to select and "g" key to move it around. |
 |
| Choose the object to animate using right click. Go to object constraint panel. Add constraint & choose "Follow Path" |
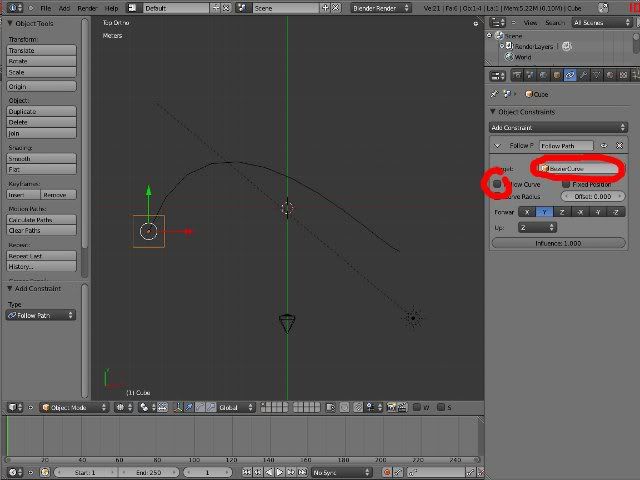 |
| Choose target as your curve & enable "Follow Curve" |
 |
| Go to start frame (eg: frame 1). Select the curve. Go to "Object Data" panel Move mouse over evaluation time. Press "i" key to insert frame. |
 |
| Go to end frame (eg: 250) Key in the end Frames (eg: 250) Key in "Evaluation Time" (eg: 250) Move mouse over "Evaluation Time". Insert the key frame again using "i" key. Done! Press "alt" + "a" to preview animation. |
No comments:
Post a Comment