 |
| Prepare Object. |
 |
| Go to edit mode ("TAB key"). Then press select all faces ("a" key). Then pree "u" key ti unwrap. |
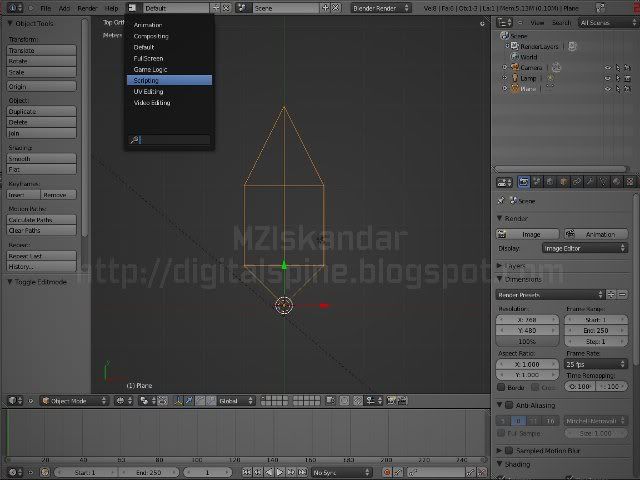 |
| Go to "UV Editing" Layout. |
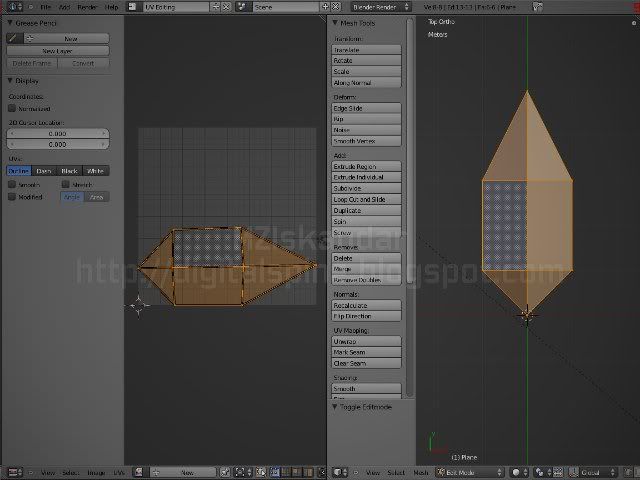 |
| Select the object if not selected, go to edit mode (right pane). You can see the unwrapped UV on the left pane. Open image at the left pane (bottom). Image > Open. Select an image file. |
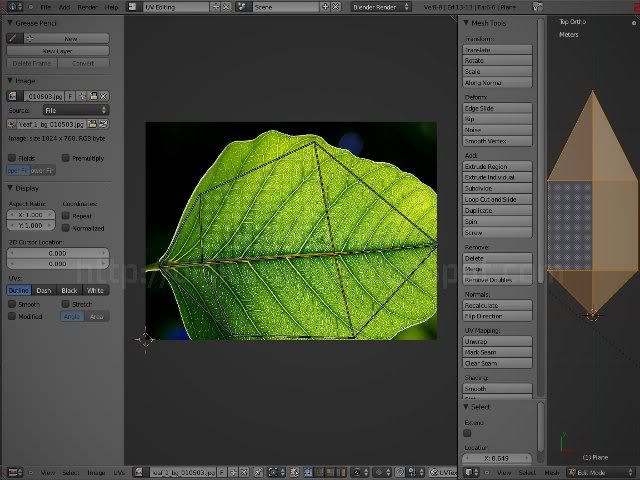 |
| Use the mouse right click and grab "G" key ..to adjust the UV vertices on the left pane. |
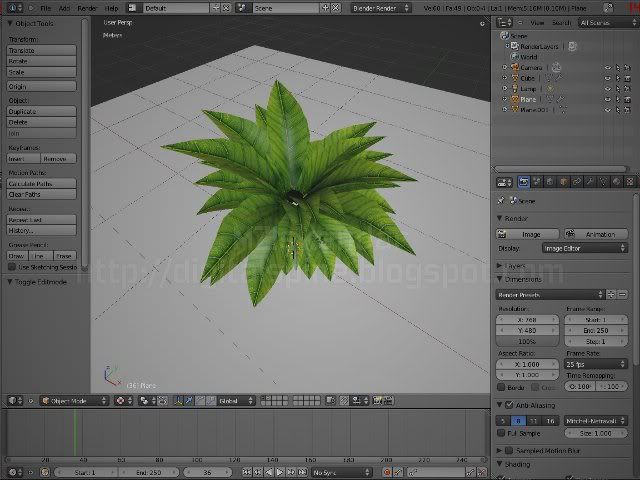 |
| Done! Go to "Default" Layout and activate "Textured" mode. |
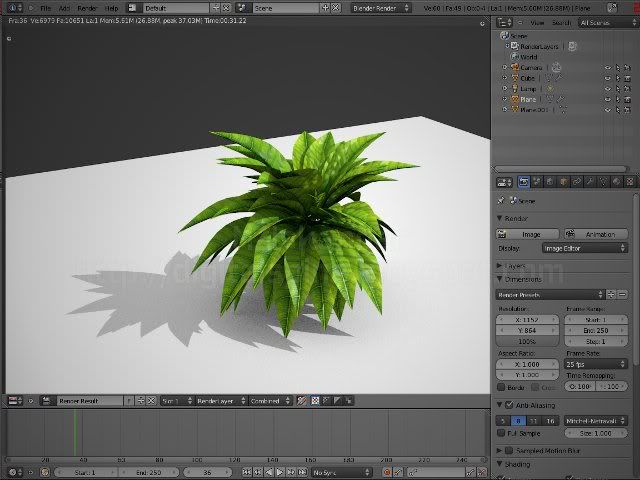 |
| That's all folks. Here I'm using a small icosahedron with hair particles. Attach the single hair object/group as a leaf. Use "Convert" to make it usable in the game mode. |
No comments:
Post a Comment